
How to prepare a mulberry cutting
How to prepare a mulberry cutting
The Mulberry is an imposing tree of the Moraceae family.
This plant is native to Asia, but also widespread, in its natural state, in Africa and North America.
Mulberry is a tree that has been cultivated for millennia. It is a tree with whole or lobed, serrated leaves, capable of developing small flowers. The fruits it produces are eaten fresh or used in making jams or other preparations. It is grown in many cases as an ornamental plant, especially in public parks.
The mainly cultivated species are:
The black mulberry (Morus nigra L.) native to western Asia, up to 15 m high, with delicious black fruits.
The white mulberry (Morus alba L.) native to China, up to 12-18 m tall, cultivated for the leaves from which the silkworm is obtained.
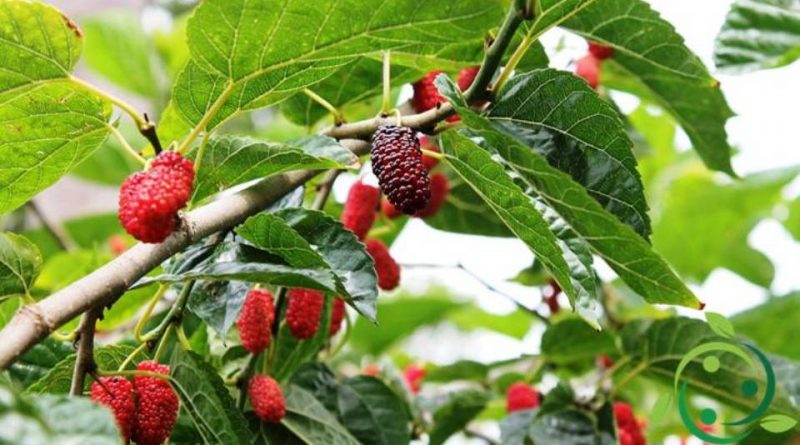
The red mulberry (Morus rubra L.) native to North America, up to 15 m tall, with red fruits that turn dark purple.
The mulberry, in all three species, can be reproduced by such a branch or by using the numerous suckers that grow at the base of the trunk.
As for the cuttings, these should be taken in early spring, using two-year-old branches.
The length of the cutting must be 25-30 cm and this must be prepared by making two clean cuts, making sure to leave some buds and possibly two leaflets: a basal (which should not be buried) and an apical one.
For the soil it is good to prepare a mixture of sand and peat or organic soil in the ratio of 2: 1.
Whether it is grown on pallets or in jars, a few centimeters of expanded clay or coarse gravel must be prepared at the bottom to facilitate the drainage of excess water.
Before dipping the cutting into the rooting substrate it is good to immerse it in a rooting powder based on hormones or in a product that you can prepare yourself.
Irrigation must be carried out twice a day (morning and evening) and, especially if you are not in a cold greenhouse, at least two sprays a day, ensuring that the steam droplets enter through the holes provided.
It is good that the cuttings are placed in a cold greenhouse or, failing this, in perforated plastic bags, which surround the cutting and the vase and guarantee greater humidity. Furthermore, the cuttings must not receive direct sunlight until rooting has taken place, which is evident with the growth of young shoots and the first leaves.
The positioning in the light must then be carried out gradually as the young seedling grows.
For the transplant you have to wait for the second year of life.
Let’s say right away that the percentages of engraftment of mulberry cuttings are not high so it is necessary to prepare a much greater number than the seedlings to be produced.
Otherwise you can proceed with the propagation by layering.
This is obtained by applying a part of damp earthen bread on a portion of a two-year-old branch, blocked with a fabric that can act as a water transmission, in order to keep the soil always moist.
Once the layering has hunted the roots, after about two months it is cut below the roots and placed in a pot with soil, taking care to wet it every now and then. You must also take care to remove a few twigs and a few leaves to give it more strength.
The transplant in the ground, both of the plant produced by cutting and by layering, must be done in the following year in the period of December or at the latest in January.
Another possibility of propagation is that by seed, but this is very slow and at least 7-10 years must pass to reach fruiting.