
How to prune the Walnut
How to prune the Walnut
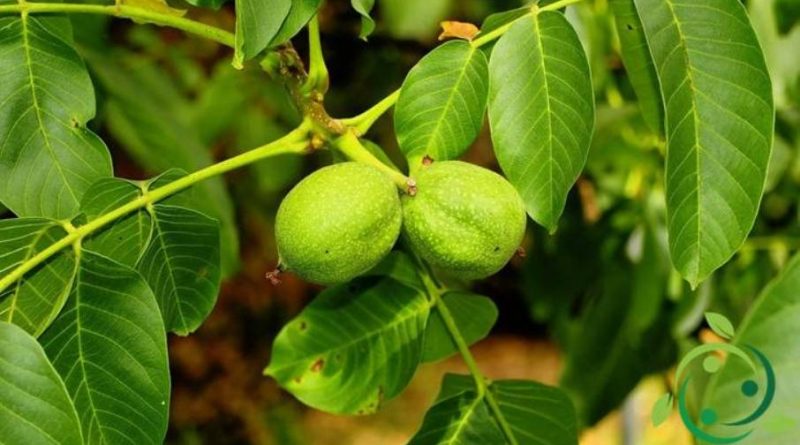
The fruit nut or white walnut (Juglans regia L., 1753) is an arboreal species belonging to the Juglandaceae family. It is a plant that, while adapting to different environments, prefers the medium hill, exposed to the south or west, protected from the winds.
In this card we will see, in particular, how to prune the Walnut, following the various phases and according to the natural physiology and morphology of the plant.
In general, before talking about the pruning technique we remind you that this is also subject to the system and the sixth plant.
It is advisable to place the plants at home at a little depth (only 12-15 cm of earth above the root) and, in specialized plants, sixth variables can be adopted ranging from 7 x 7 m for less vigorous cultivars and in soils with low fertility and not irrigated and for the prevalent production of fruits 12 x 12 if, in addition to the fruits, we want to produce work timber; remember that, in this case, the plants must be high decks (at least 3.5 m).
To regulate and orient ourselves in the walnut pruning technique we remind you that on the branches of a walnut tree one can find three types of buds:
– wood buds, small in size, rounded and ovate in shape, lacking in flower buds;
– mixed buds, which give rise to shoots with a length between 15 and 20 cm; these at their peak have female flowers. However, female flowers may also be present along these shoots. The male flower instead develops on the branches of a year;
– flower buds formed in the spring on the new branches.
For the walnut, the most suitable training method is the 3-branch pot for European cultivars; for Californian cultivars a central axis is left with lateral fruit-bearing brindillas.
To raise the walnut according to this form it is necessary to start from the initial stages of plant development, then it will begin to intervene on the stem just planted in the period of October. The first intervention, to give shape to the young plant, is that of topping of the astonis, which is performed in the period of vegetative growth (March). The cut must be made at a height of about 60-70 cm from the ground. After this cut the plant will produce numerous buds and then shoots; of these the more vigorous ones will be selected in the following year, if they will have to choose 3 that will go to form the main branches, all the others will have to be removed with a satin cut to the stem. The three branches must be selected when they have a minimum length of 15 cm and a maximum of 25 and must be equidistant from each other (approximately 120 °). If this distribution of the load is not ensured in the future, when the plant has grown and presents the three close branches, it will be subject to the risk of “splitting”.
As an alternative to the vase shape, you can choose the free-form shape, which essentially consists in supporting the natural bearing of the tree. However this form is particularly wide and not very productive if applied to several plants, instead it is suitable for maintenance when few specimens are possessed.
In the breeding of walnut it is also necessary to take into account that the height of the stem must be long enough to allow normal cultivation operations. For this reason the scaffolding will have to be forced to grow only at a certain height. If mechanical means are used for working on the ground, such as tractors, the height of the tractors must be taken into account. The Californian cultivars that are: Hartley, Chandler and Eureka must be raised with a higher scaffolding because the branches in these plants tend to curve downwards, therefore heights of at least 2.8-3.4 meters will be recommended.
Let’s now move on to training pruning –
As mentioned, the first cuts must be made after the first year of growth. The only operations to be carried out the first year after planting the astones is the binding of the main shoot to a guardian and the topping of the lateral shoots to the stem. For support, 5-7cm high 3-meter-long wooden poles are generally used, one meter of which will be buried. Periodic ligatures will have to be carried out to keep the rod straight and allow the future trunk to develop properly.
The trimming of the lateral jets, which consists in shortening the shoots that will develop along the trunk, must be carried out in March; after which, in September, the total removal of these lateral jets will be carried out, if necessary in this same period other ligatures will be carried out to keep the rod straight.
From the second year the true training pruning will then start which will consist in eliminating all the branches that have formed and which are not intended for the formation of the foliage. The strongest branches are chosen and preserved, and the slenderest and least developed ones are cut. In this way a strong and well developed trunk will be formed that will have to support the whole load of the foliage. In the month of March in the second year of cultivation the topping of the vigorous and robust lateral shoots will continue and then eliminate them at the base at the beginning of the autumn period.
In the third year, when the plant will have reached approximately a height of more than two meters, it will be possible to start thinking about the formation of the main branches. The superfluous ramifications will be removed up to a height of two meters.
Once the three main branches are chosen, these will still need guidance; for this reason you will have to use fairly long rods or sticks, these will have to be fixed to the ground and inclined at 45 degrees to the stem and finally they will be tied to the branches.
Subsequently, in the years from the third to the fourth, return cuts will be necessary, which are aimed at containing the crown, each cut must be made as close as possible to the branching of the branches and immediately after a sturdy bud. Once the conformation of the foliage has ended, in this period it will pass, in the years following the actual pruning of production.
Production pruning –
The interventions related to the production pruning must be carried out in the winter months, when the Walnut is in vegetative rest. These interventions are aimed at thinning the foliage and the intricate branches so as to give the possibility to the light to penetrate inside. In this sense the damaged branches must be removed, the old ones and the sick ones.
Renewal pruning –
A particular form of pruning is that of renewal. This technique is always practiced during the months of vegetative rest, around the month of March, when the possible frosts are reduced to a minimum. In this phase, moreover, the plant is more prone to sprouting and the formation of new branches will happen more easily. It is used to restore new vegetation, especially in older or damaged plants, with return cuts.
Green pruning –
Green pruning is a technique that is performed, in plants in full development, therefore during the production phase, in the months of June and July. The objective is to contain the plant’s vegetative capacity to maintain the size and structure of the foliage so as to avoid the formation of new sprouts that would remove energy from the production phase.
In all the pruning techniques, with the exclusion of the preliminary interventions (pollarding and selection of the three branches) it is always necessary to avoid the drastic pruning interventions. Pruning too strong can weaken the plant; in these cases the trunk tends to lengthen considerably; this makes it particularly unstable and sensitive to breakage, which becomes dangerous in areas with strong winds that could damage the plants.
Furthermore, too strong prunings on the Walnut expose the plant to the attack of pests and diseases since to heal the numerous cuts the walnut must concentrate a lot of energy. In addition, excessive pruning causes excessive sprouts, with the production of also suckers that develop on the branches, which is normal as the plant tends to replace the old eliminated branches.
Likewise, pruning must not be too few. This would lead to good trunk development but reduced height growth and above all a few short branches not sufficiently developed to obtain a good harvest.
Moreover, in order to allow a fast healing of the cuts of the small branches it is good that the removal of the branch takes place near the rim without cutting the latter.