
How to prepare a cutting of rosemary
How to prepare a cutting of rosemary
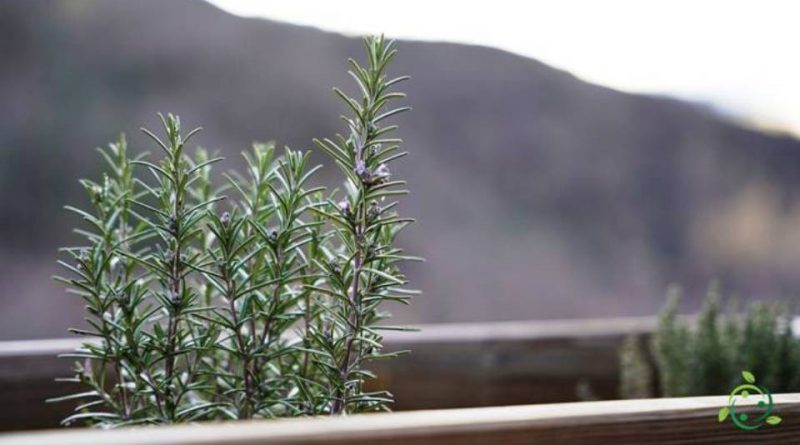
Rosemary (Rosmarinus officinalis L., 1753) Is an aromatic perennial plant of the Lamiaceae family, native to the Mediterranean area where it grows in coastal areas, garrigue, Mediterranean scrub, stony and sunny cliffs of the hinterland, from sea level to the hilly area .
The cultivation of this plant ranges from those of the productive type and therefore on larger extensions to those typically of family gardens or pot cultivation.
Rosemary can reproduce by seed but more quickly by cutting; in fact it takes up to 1 year to have the seedling through cuttings and about 3 years to produce the same size of seedling starting from seed. Furthermore, with the multiplication by cuttings, being agamic, it will produce plants that are all identical from a genetic point of view.
Preliminary operations and period –
To proceed with the preparation of a rosemary cutting we must choose the most suitable parts of the mother plant and the correct period of collection.
The cutting can be taken from several parts of the mother plant and, in general, if we take the terminal part of a formed branch we will obtain a “tip cutting”, if we take a young and still not very woody branch by cutting at the base of the bifurcation with other branches , we will get “heel cutting”.
The best time to do this is from mid-spring to autumn, avoiding, however, those corresponding to the hottest months, especially July and August.
The cutting to be taken must have a length between 10 and 15 cm at the most. Longer cuttings take root with greater difficulty due to the initial effort of the new plant to maintain a sufficient vegetative balance and, therefore, to root. The sampling must be carried out with a very sharp and disinfected pruning shears, with a cross cut of about 45 ° and removing the needles from the lower part for the first 6-8 cm of the cutting. In addition, it is advisable to slightly trim the apex of the rosemary branch to give the cutting more vigor and make it root better.
Rooting substrate preparation –
During the emission phase of the new roots it is essential to have a suitable substrate that guarantees at the same time the necessary humidity but also the correct intake of substances.
A mixture obtained using peat and sand is recommended, in a 7-3 ratio; in the absence of peat it is important to have very organic soils available.
The cuttings can be rooted in pallets or in individual jars. The choice depends on various factors such as the number of cuttings to be prepared and the convenience of preparation and planting work after rooting. For a few cuttings we will obviously use small pots, easy to use and manipulate. If you opt for the use of jars, you must enter only one cutting for each of them.
Implantation of the cutting –
The cuttings thus cut will be buried inside the rooting substrate for about 5 cm, always leaving an obvious greater length in the epigeal part.
Once inserted in the substrate this will be slightly compacted to allow a perfect adherence between the surface of the cutting underground and the soil.
Remember that the soil must have sufficient organic and nutritional elements for the rooting of the cutting, so if you are convinced that the substrate is deficient, a slight amount of humus or well humified organic substance must be added.
Furthermore, to facilitate and increase the possibility of rooting, the cutting can be immersed for a few moments in a rooting hormone that can be purchased or even prepared by hand.
Rooting phase –
During the whole phase of emission of the young rootlets, the cuttings must be kept away from sudden changes in temperature, sudden changes in humidity, while ensuring sufficient brightness but avoiding direct sunlight.
It is advisable to always keep the soil moist without ever exaggerating to avoid dangerous stagnations. Better to water little and often and use, if possible, a nebulizer to constantly maintain the necessary humidity.
Obviously, in rooting on pallets and in greenhouses, all these conditions can be more easily programmed.
If all these conditions have been met within a period of about 5 weeks, first results should be seen. These are also quite evident as you will notice that the sprig of rosemary will be slightly elongated and the vegetative part of a somewhat intense green color. Otherwise, if the period beyond 6 weeks has passed, it is noted that the apical part darkens, which means that the rooting was not successful.
Let’s say immediately that the cuttings of all plants have a percentage of rooting that depends on various factors but also on the plant that must be rooted. For rosemary, the percentage of engraftment is usually quite high.
The key thing is not to try to move the soil to check the rooting because at this stage the rootlets are very fragile and break very easily.
Once the cuttings have rooted, the new seedlings will begin a regular vegetative life and it will be necessary to wait a year before transplanting, waiting for it to become stronger and emit a regular root and leaf system. It is recommended to repot in early spring at the end of the cold period and when we are sure that there will be no more frost.