
How to grow Orchids at home
How to grow Orchids at home
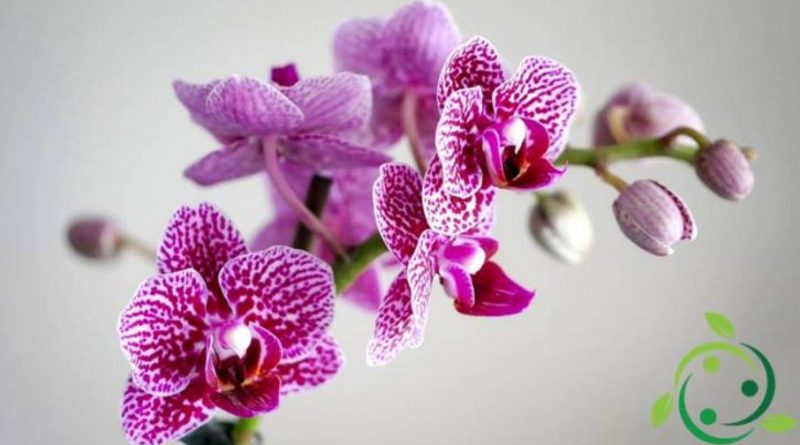
The Orchidaceae (Orchidaceae Juss., 1789) are a family of plants of the order of the Orchidales and whose flowers are commonly called orchids. These are perennial herbaceous plants, some of which are able to absorb from the water present in the environment the substances necessary for their survival through the aerial roots (autotrophy) and also able to feed by assimilating substances from decomposing organisms (saprophytes).
Countless selections have been made on these plants and perhaps represent the most sought after flowering plants but also the most delicate to cultivate. They are in fact plants that must find particular conditions of light, water and soil and that at home, even more so, is more complex to find. Even in this guide we will see how to grow Orchids at home. The first thing to know is that if your house is exposed to the north, and therefore with little light, it is almost impossible to grow them; the orchids must be in bright conditions, even if partially, all year round.
For this reason, the first concern is to place the orchid plant in a sunny room facing south, but avoiding direct sunlight and far from direct heat (which causes yellowing of the leaves). If, on the other hand, the leaves tend to curl up and no more shoots are formed, it means that exposure to light is scarce. Also with regard to irrigation it should be done little and often (avoiding adding water if the soil is still wet). We recommend watering with a diffuser around the vase; moreover the water for irrigation must contain very few salts (the ideal would be to use rainwater) and certainly not to use tap water, as the chlorine contained in it represents the worst enemy of the orchids. The ideal is a water obtained through a reverse osmosis device, with very little limestone, neutral or slightly acidic; in case of calcareous water you will notice that all the leaves start to turn yellow (it is however good to have a water analysis carried out). In this case it will be necessary to add liquid fertilizers based on iron. For the care of the plant and the removal of pests carefully clean the leaves every day in order to eliminate dust and give maximum surface photo synthesizer. Another important aspect is the temperature: under 20 ° C the orchids do not grow more well manifesting this symptom with spots on the leaves and also on the flowers. For the choice of the vase then opt for a transparent vase; the roots and the plant will have much benefit. Finally the cleaning of the flowers; these should never be cut off but left on the same plant until they fall spontaneously. Particular care must then be placed in the fertilization of orchids. To avoid DIY experiments, it is advisable to purchase suitable fertilizers for orchids in ready-to-use vials; these are designed for orchids grown in a domestic environment. The vials already contain fertilization instructions; just follow them. If you have followed all these indications well and you have already arrived at the time of repotting, then it is possible to proceed with the division of the tufts; practically from the old orchid plant you can get two or three. Let’s see how to proceed: first of all water the substratum thoroughly and extract the plant from the vase by gently lifting it; at this point remove the old basal leaves with brown coloring; to make the division, use a wide-blade sterilized knife with which to divide the root system at the point chosen for the division of the aerial part. At this point, remove most of the old soil and the dry roots. Before transplanting into the new vase (which must have a diameter of 5 cm higher than the previous) place non-calcareous gravel at the base of this and fill the remaining depth with a suitable soil for orchids. When placing the new plants in the new pots, care must be taken to cover the roots up to the collar with a special mixture of sfangno and osmunto (fern roots) or with pine or fir barks; this operation must be rebuilt several times after a few days as the soil will tend to decrease and stabilize. If all went well, the next repotting can be performed after 4 or 5 years.