
How to build a dry stone wall
How to build a dry stone wall
The history of dry stone walls is lost a bit ‘in the mists of time. In the Mediterranean basin dry stone walls for agricultural use begin to spread with the Greek colonization, representing today one of the most significant examples of agricultural archeology. This technique begins with the spread of tree and shrub crops, olive trees and vines, especially around cities and on sloping land; so it was necessary to close the fields in small plots to protect the flocks and thefts. But the need for the construction of dry stone walls was also born from the need to clean the land from large amounts of stones that covered them and free the soil to allow cultivation. Also on the quarries and on the hills, thanks to the construction of these, terraced cultivation could be introduced. But there is much more, the presence of dry stone walls plays an important role in defending against hydrogeological risk because they are capable of draining rainwater, retaining the mud that would also damage the crops of the gardens, and as a refuge for many species of organisms that they would have no escape in the plowed and cultivated fields.
In short, a great defense of rural ecosystems. The art of building dry stone walls can not be learned overnight but in this little guide we will see, step by step, how to build a dry stone wall and how to slowly acquire an experience to pass on to others.
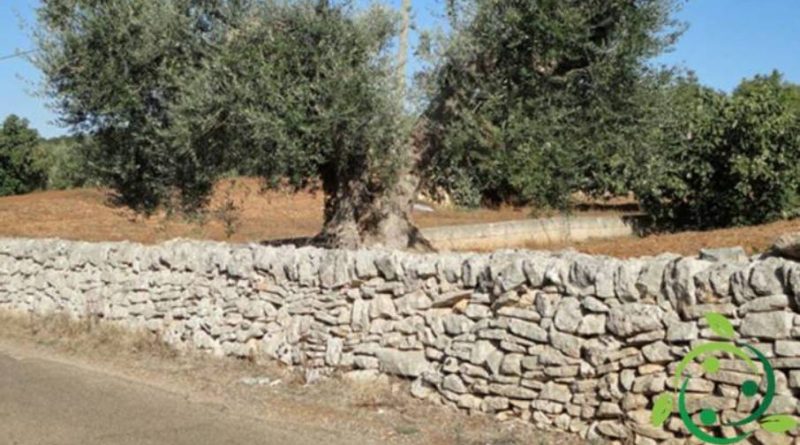
There are obviously two ways to make a dry stone wall. Here we will deal with the simplest but ecologically correct one; that is to build a dry wall starting from the stones on your plot. This system, which is used for centuries, does not move stony materials only and much for embellishment but above all for those ecological utilities expressed before. The method consists in finding all the stones present in it by cataloging them and collecting them by size. This will serve to place the larger stones at the base of the wall and gradually those of smaller size towards the apex of the same. In doing this operation, even if the wall is dry, it is appropriate to dig a small trench, at least 30 cm deep and the width of the wall you want to build, so as to provide an excellent base for anchoring the wall. This trench, if possible, should be flooded with water and, after it has all flowed, compacted and leveled. Besides this trench, dug with the help of a guide, by line, will allow you to give you a greater alignment of your dry stone wall. Once the trench is dug, remember to leave the line well anchored; this will still serve as a guide in positioning and aligning the stones. Remember that for greater stability of the layers of stones you must always keep small sized stones at your fingertips that will serve as wedges. It will be appropriate, through a small blacksmith and an awl, to stick these small stones between two larger boulders to stabilize and level them. The height that we recommend in the construction of the dry stone wall should never exceed, for reasons of greater stability, 1 – 1.20 meters. Making dry stone walls of greater heights really requires skilled labor and more and more construction costs. If, finally, you want to give a touch of greater stability to the dry stone wall, you can think of using, for the stones placed at the apex of the wall, white limestone mortar in order to give strength to the entire structure. In this case we advise you to make sure that the mortar remains on the inside of the last layer of stones in order to keep the wall dry appearance. Obviously, it takes time, patience, constancy; but in the end you will find that the fatigue is amply repaid.