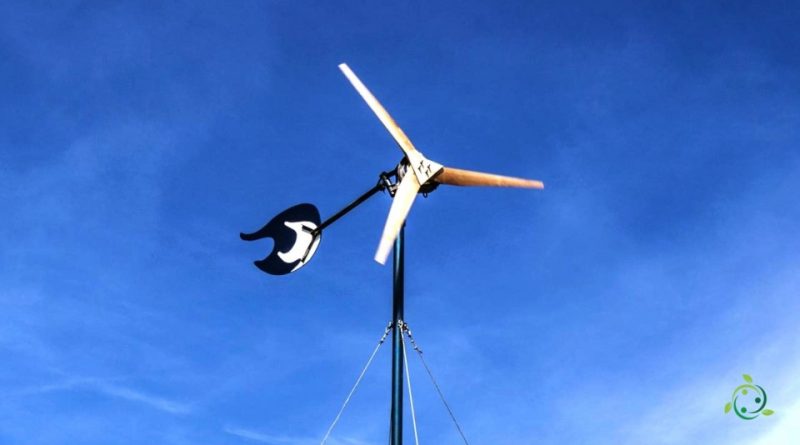
DIY mini wind turbine
DIY mini wind turbine
For those who want to try a creative experience, we present a detailed guide to make a DIY mini wind turbine. This project is designed to be simple and accessible, but keep in mind that it requires some basic skills in mechanics and electronics. In addition, the mini wind turbine will be suitable for generating small amounts of energy, enough for applications such as charging a battery or powering low-consumption devices.
Below we see the necessary materials, construction phases and practical advice.
– Necessary materials
Propeller blades:
Material: PVC, wood or aluminum.
Tools: Hacksaw, file.
Recommended length: 50-100 cm for balanced and lightweight blades.
Electric generator:
You can use a DC motor recovered from old appliances or buy a specific generator for wind turbines.
Support structure:
Steel or PVC tube for the upright.
A stable base (for example, a tripod or a concrete platform).
Bearings and hub:
To connect the blades to the generator so that they rotate freely.
Regulation circuit:
Diode (to prevent current backflow).
Charge controller (optional, to protect a battery).
12V battery or other accumulator.
Cables and connectors:
Electrical wires (of suitable section).
Various clamps and connectors.
Various tools:
Drill, screwdrivers, wrenches, soldering iron, multimeter.
– Construction phases
1. Creating the propeller blades
Design: Draw an aerodynamic profile similar to that of a fan propeller.
Cutting: Use a PVC pipe to create the blades. Cut the pipe into segments and shape them so that they have an angle to the plane of rotation.
Balancing: Make sure that the blades are the same weight and size to avoid vibrations.
2. Assembling the generator
Connect the generator to the hub using a system of bearings.
Fix the blades to the hub firmly but adjustable, to allow for any changes.
3. Tower Construction
Use a sturdy pipe (steel or PVC) as a strut. It must be tall enough to catch steady, non-turbulent winds (2-4 meters on average for home use).
Make sure the base is well anchored. You can use a cemented base or a triangular structure with guy wires.
4. Electrical Circuit
Connect the wires from the generator to a diode, which will prevent the current from flowing back when there is no wind.
If you plan to use a battery, add a charge controller to avoid overloads.
Finally, connect the output of the circuit to the battery or directly to a device to be powered.
5. Testing and Calibration
Place the mini wind turbine in a windy area.
Use a multimeter to measure the voltage and current generated.
If the output is too low, check the angle of the blades and the mechanical connection to the generator.
– Practical Tips
Safety: Work carefully during assembly to avoid accidents. During installation, make sure the tower is stable and the mini wind turbine is away from busy areas.
Optimization: If you have irregular winds, consider installing a rotor with larger blades or a steering system with a tail (similar to a weather vane).
Maintenance: Periodically check the bearings, blade attachments and cable integrity.
– Warnings
Please note that this project is suitable for educational purposes or small domestic use. If you want to produce significant amounts of energy, consider purchasing a certified mini wind turbine system.

