
How to grow pot turmeric
Cómo cultivar trufas en casa
The possibility of cultivating some plants in pots, even of a nutritional nature, has two motivations: it educates us to the concept of Nature and can give us great satisfactions for “doing it myself”.
Curcuma (Curcuma longa) lends itself well to this type of cultivation as we can change the environment according to seasonal and environmental needs.
Curcuma is a spice particularly appreciated and sought after in the kitchen and for its healing properties.
Its cultivation is typical of the tropical areas of Southeast Asia, in particular of India, which is the world’s leading producer.
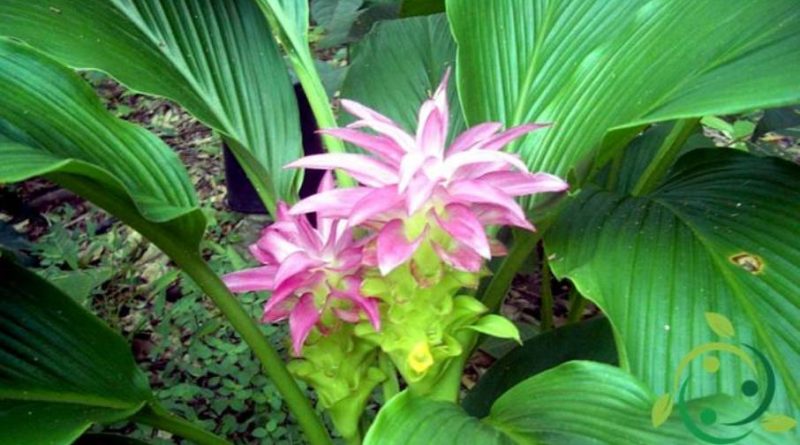
As turmeric is a perennial and small plant (not more than one meter tall) it allows us to grow it in pots.
The rhizomatous root of this plant, which also has a notable aesthetic appearance, is the most relevant component as it is the part used throughout the world as a precious spice. The big rhizomes are cylindrical, very ramified, with a typical yellow color tending to orange and strong aroma, much sought after as a fine spice in the kitchen.
Being a plant of tropical origin it loves the warm and humid climate. For this reason, the cultivation in pots gives us the possibility to keep it away from frost, especially in winter (which would compromise the roots).
The natural cycle is obviously different from that of pot cultivation. In this case, however, keeping the pot at home until budding, you can start cultivation as early as the middle of March; after which the plant can be moved to the balcony, choosing a good sun exposure and the right heat.
Cultivation in pots can start, or interrupt the rhizomes, or buy an already formed seedling. If you start from the rhizomes this must obviously be done starting from the month of March, burying these roots that will sprout within a month or so.
If you buy the plant directly make sure (through the nurseryman) that it is Curcuma longa because the other species do not have the same value.
If the plant is already in pots then you expect the end of April, when temperatures are more stable and mild, to bring it home and put it in a larger pot.
In order to ground the rhizomes, the vase must have a rectangular shape and dimensions of at least 75 cm of length and 30-40 cm of depth, while the rhizomes (or the seedlings) should be positioned at 20 cm from each other and at a depth of 6 -7 cm.
The soil that must host plants or rhizomes must be composed of 1/2 of peat, 1/4 of fine sand and 1/4 of garden soil.
Attention to the availability of water and to provide whenever the soil will tend to dry up too much. So, especially in hot weather, regular watering and if necessary use a nebulizer for the leaves.
The rhizomes will be ripe after 8-10 months from the beginning of the cycle while the plant will find it in the middle of winter and must be placed in the house and in the bright area. When the leaves will be wilted completely we will have to dig into the soil and collect the roots we need, gently dividing the rhizomes (which are those that are used). Clearly as it is a perennial plant it will be necessary to leave some rhizomes (covered with soil) for the following years and so on. During the winter keep the vase at home, in an illuminated position, with very sporadic water. In doing so, in the following spring the rhizomes will give life to new shoots and the cycle of the plant will be repeated.
Turmeric is consumed both fresh, and then stored (cleaned) in the fridge for about four weeks, or stored in powder form after a not too complex process. In this case the freshly harvested roots must be dried in a dry and ventilated place for about a month; after which they can be reduced to powder by using a kitchen beater and stored in glass jars, to keep away from light and direct heat sources.
Turmeric generally does not suffer from pest attacks. However, if it should happen, we recommend intervening with natural pesticides, in particular the nettle macerate and the garlic infusion (see in the website). These are sprayed directly on the leaves that will also benefit from moisture.